Okay, so I’ve been seeing these “glamping triangle” things all over my Pinterest feed, and I finally decided to give it a shot. I’m not exactly the handiest person, but I figured, how hard could it be? Turns out, it’s a little trickier than those perfectly styled photos make it look, but still totally doable!
Getting Started
First, I gathered all my materials. I already had a bunch of old wooden planks lying around from a previous project (score!), so I didn’t need to buy any wood.
I also Picked some of these things:
- Screws: Make sure they’re long enough to go through your wood securely.
- Drill: Borrowed one from my neighbor, thankfully.
- Measuring tape: Gotta get those angles right!
- Saw: Hand saw. I felt like a lumberjack for about five minutes.
- Sandpaper: Didn’t want any splinters ruining my glamping vibe.
- Fabric: used some cute old sheet.
The Build
I started by cutting the wood. My plan was to make a simple A-frame, so I needed two long pieces for the sides and several shorter pieces for the base and supports. I’m not gonna lie, my cuts weren’t perfectly straight, but I figured it would add to the “rustic” charm. I then Measured and marked where I wanted the supports to go, trying my best to make sure everything was symmetrical(used a triangle ruler for that).
Next, I pre-drilled some holes to make screwing everything together * is where I almost messed up big time – I nearly drilled straight through my workbench! Note to self: always check what’s underneath before drilling.
Then I started screwing the frame together, I laid out the long pieces on the ground, then attached a support beam across the bottom to form the base of the triangle. After that, I carefully propped up the sides and screwed them together at the top, then added a couple more support beams across the middle for extra stability. It wasn’t the prettiest thing, but it was standing!
The Finishing Touches
Once the frame was built, I sanded down any rough edges and splinters, making it all smooth.
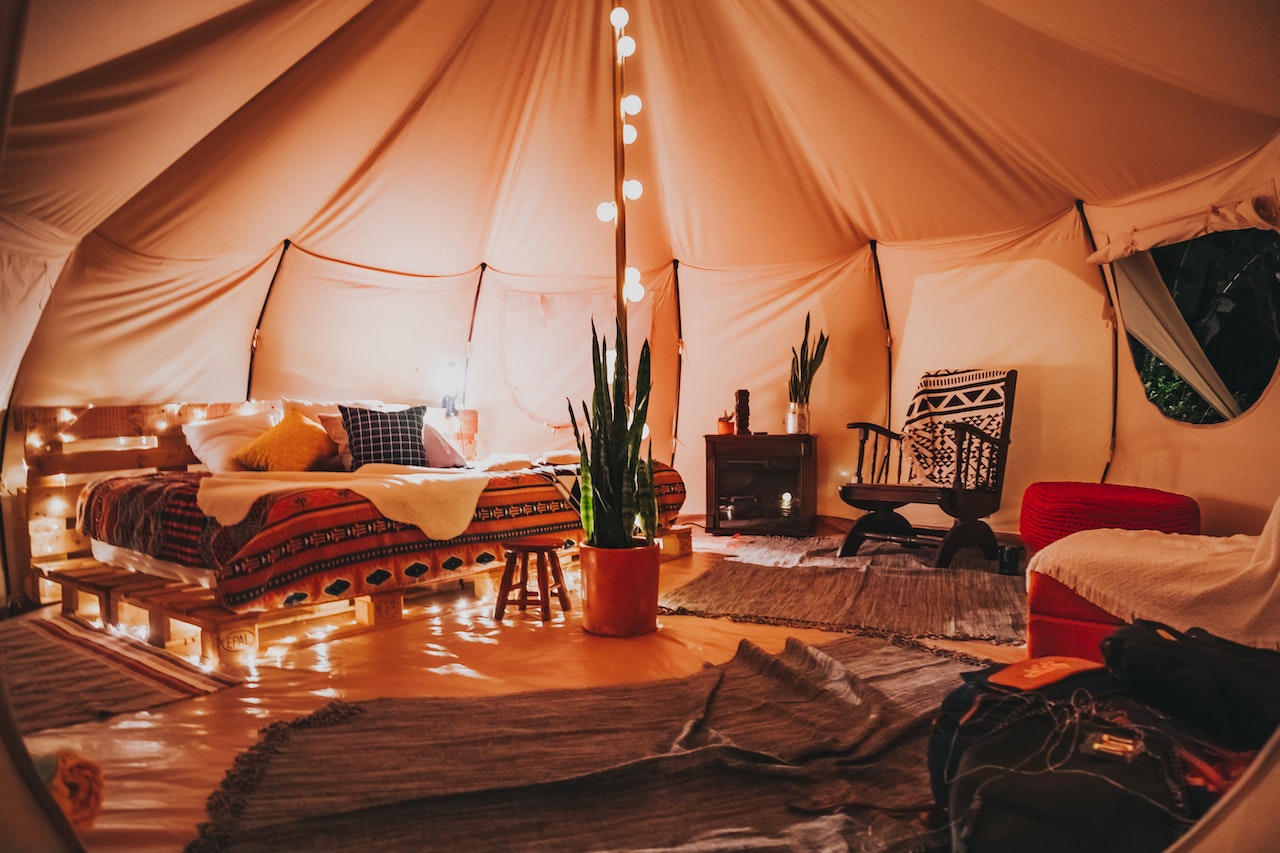
I then draped that sheet over the frame, and used some heavy-duty staples to secure it along the edges. It’s instant coziness! I also added some string lights and a few throw pillows, and it was ready for its first guest (which was me, with a cup of tea and a good book).
All in all, It was a super fun project. It definitely took longer than I expected, and it’s not perfect, but I’m pretty proud of my little glamping *’s become my favorite spot to relax in the backyard, especially in the evenings.


