Okay, so I’ve been wanting to upgrade my living room setup for a while now. The old TV stand was just…blah. I decided to go for something a bit more modern and organized, and that’s where the idea for entertainment center towers came in. I love how they frame the TV and give you extra storage.
First things first, I spent a good chunk of time just browsing online. Looking at different styles, sizes, what materials people used – the whole nine yards. I knew I wanted something with a bit of a rustic vibe, but still clean-looking, you know?
After I had a general idea, I started sketching things out. Nothing fancy, just rough drawings to get a sense of the dimensions and how it would all fit together. I measured the wall where the TV was going, the TV itself, and made sure there was enough space for the towers on either side.
Building the Frames
Next up, the fun part – actually building! I hit up the local hardware store and grabbed a bunch of 2x4s for the frames. I’m no master carpenter, but I can handle a saw and some screws. I cut the wood to the lengths I needed, based on my super-professional sketches, and started assembling the basic rectangular frames for the towers. I used wood glue and screws to make sure everything was nice and sturdy. A couple of clamps definitely helped hold things in place while the glue dried.
Adding Shelves
Once the frames were solid, I moved on to the shelves. I decided to go with some nice, thick planks of reclaimed wood for the shelves. I loved the look of the knots and imperfections – gave it that rustic charm I was going for. I measured and cut the shelves to fit snugly inside the frames, and then secured them with more screws. Make sure to use some levels, and make sure the shelves are level.
The Finishing Touches
With the shelves in place, it was time for the finishing touches. I gave everything a good sanding to smooth out any rough edges. Then, I applied a dark walnut stain to the wood. I love how the stain brought out the grain and really made the reclaimed wood pop. I used the rag to apply the stain, let it sit for an hour, and wipe the extra stains.
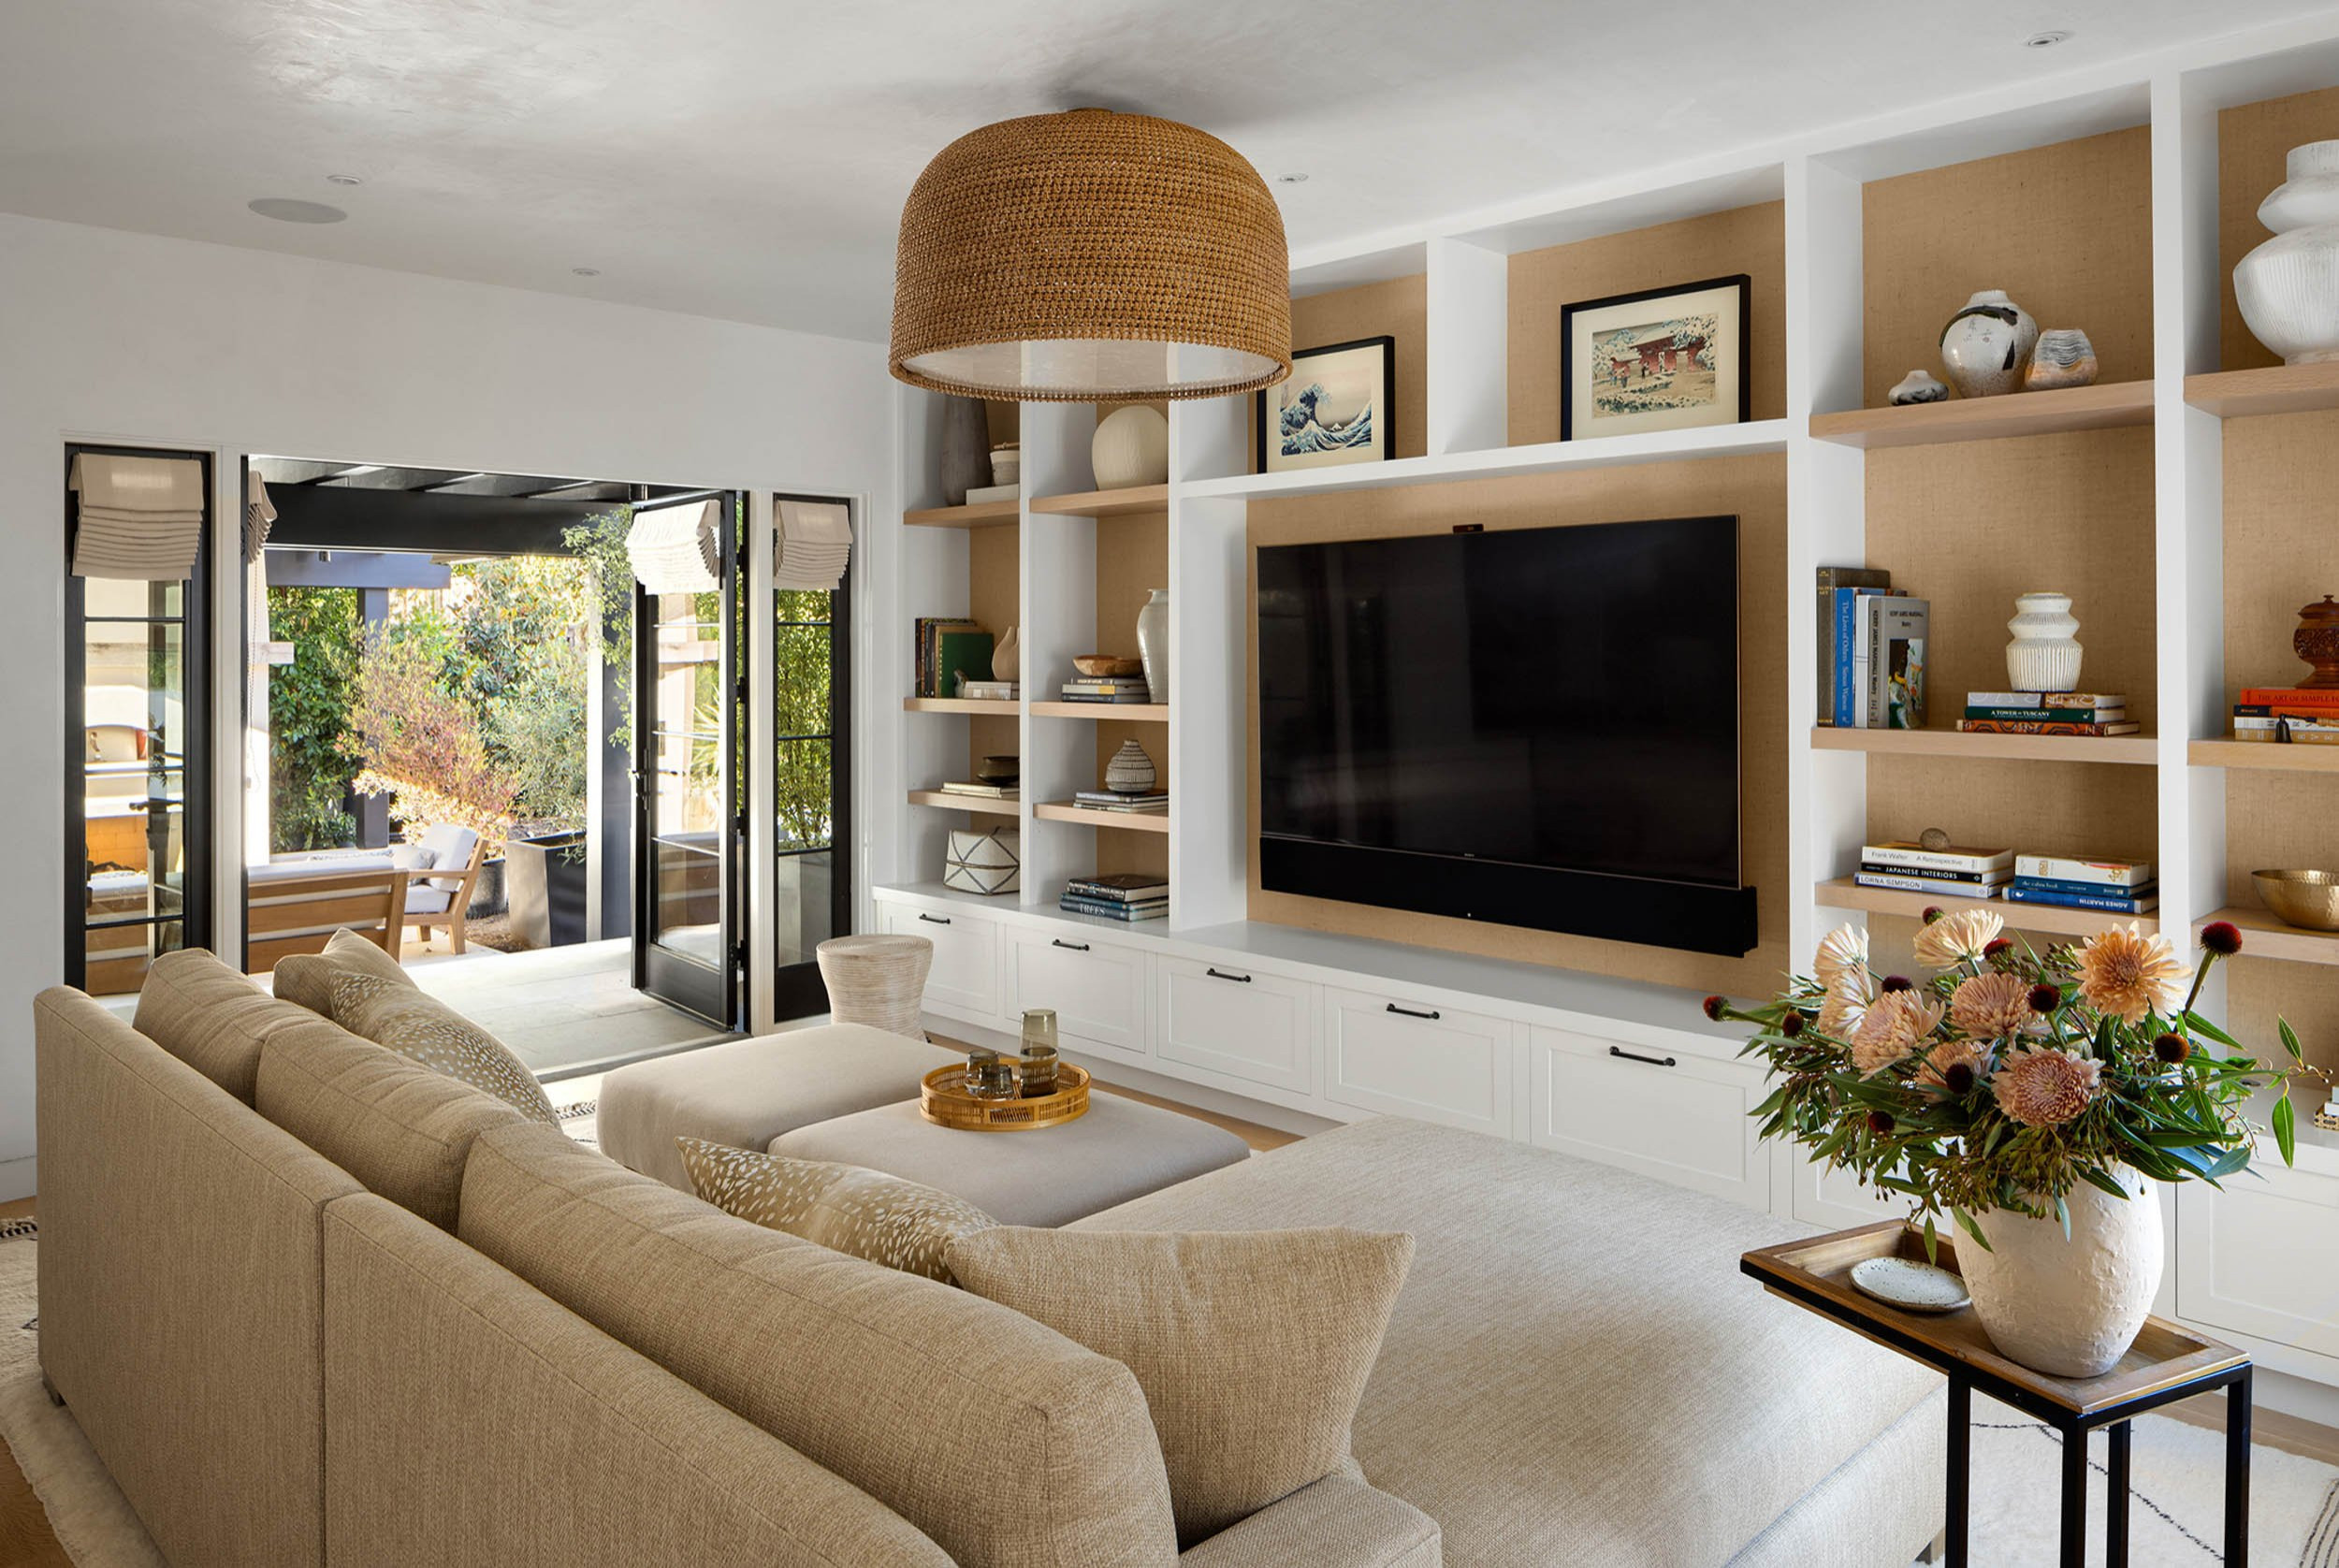
After the stain was dry, I added a coat of polyurethane to protect the wood and give it a bit of a sheen. It will protect the surface from water, or some accident spilling. Once that was dry, I carefully positioned the towers on either side of the TV, and – boom! – instant upgrade. Filled the shelves with some books, a few plants, and some decorative knick-knacks, and it totally transformed the room.
- Planning: Take your time, browse ideas, and sketch out your design.
- Measuring: Measure twice, cut once! Seriously, accurate measurements are key.
- Building: Don’t be afraid to get your hands dirty. Even basic woodworking skills can go a long way.
- Finishing: Stain and sealant can make all the difference in the final look.
Honestly, it was a pretty straightforward project, and the results were totally worth the effort. Now, movie nights are even better, and the living room feels so much more put-together. If you’re thinking to build your own shelf, just do it!


