Okay, folks, let’s dive into my little adventure of filling up my pool with well water. I gotta say, it wasn’t as straightforward as I initially thought, but hey, that’s part of the fun, right?
The Initial Idea
So, there I was, staring at my empty pool, and the city water bill was already giving me a headache just thinking about it. My well, on the other hand, pumps out pretty clean water, or so I thought. I figured, “Why not? Let’s give it a shot!” The idea of saving some cash and being a bit more self-sufficient was pretty appealing.
Testing the Waters (Literally!)
First things first, I knew I couldn’t just dump well water straight into the pool. I grabbed a bucket and filled it up. The water looked clear, but looks can be deceiving. I got myself a home water testing kit – the kind you can find at most hardware stores. It tested for things like pH, alkalinity, calcium hardness, and of course, any nasty bacteria.
The results? Well, let’s just say it wasn’t perfect. My water was pretty hard (lots of minerals), and the pH was a bit off. This meant I couldn’t just start pumping it into the pool without some adjustments.
The Filtration Game
I did some digging and found out I needed a decent filtration system. My regular well pump filter wasn’t going to cut it for pool-quality water. I ended up getting a sediment filter and a carbon filter. The sediment filter catches all the bigger particles, like rust and sand, while the carbon filter helps with any weird smells or tastes and some of the finer stuff.
I connected the two filters in a straight line, one before the other to my garden hose, so that I could filter the water as I put it in the pool.
The Slow Fill
Now came the long part – actually filling the pool. I connected my garden hose to the well pump, ran it through my new filter setup, and let it flow into the pool. It was s-l-o-w. We’re talking days, not hours, to fill a decent-sized pool. I had to keep an eye on the pump to make sure it didn’t overheat, and I checked the filters regularly to make sure they weren’t clogged.
Post-Fill Adjustments
Once the pool was full, I tested the water again. The pH and alkalinity were still a bit out of whack, so I had to add some pool chemicals to balance things out. This is pretty standard, even with city water, so it wasn’t a huge surprise. I also added some chlorine to sanitize the water and make sure it was safe for swimming.
Checking my work
After completing my work, I double checked all of the chemcial levels in the pool to be sure that all of my levels were balanced. I found that the levels were a little off, so I took my notes on the levels and balanced everything out.
The Final Result
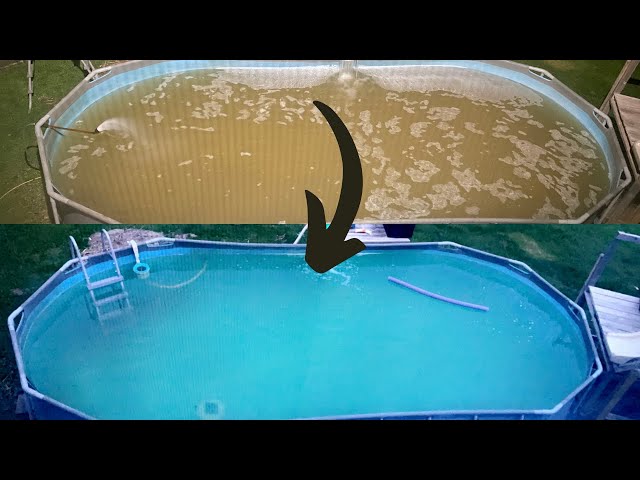
After all that work, I finally had a pool full of clear, clean, and well-balanced water! Was it worth it? Honestly, it was a bit of a hassle, but I learned a lot, and I did save some money on my water bill. Plus, there’s a certain satisfaction in knowing I filled my pool using my own well water.
Would I recommend it to everyone? Maybe not. It depends on your well water quality, your DIY skills, and how much time you’re willing to invest. But if you’re up for a challenge and want to be a bit more self-reliant, it’s definitely a doable project!


