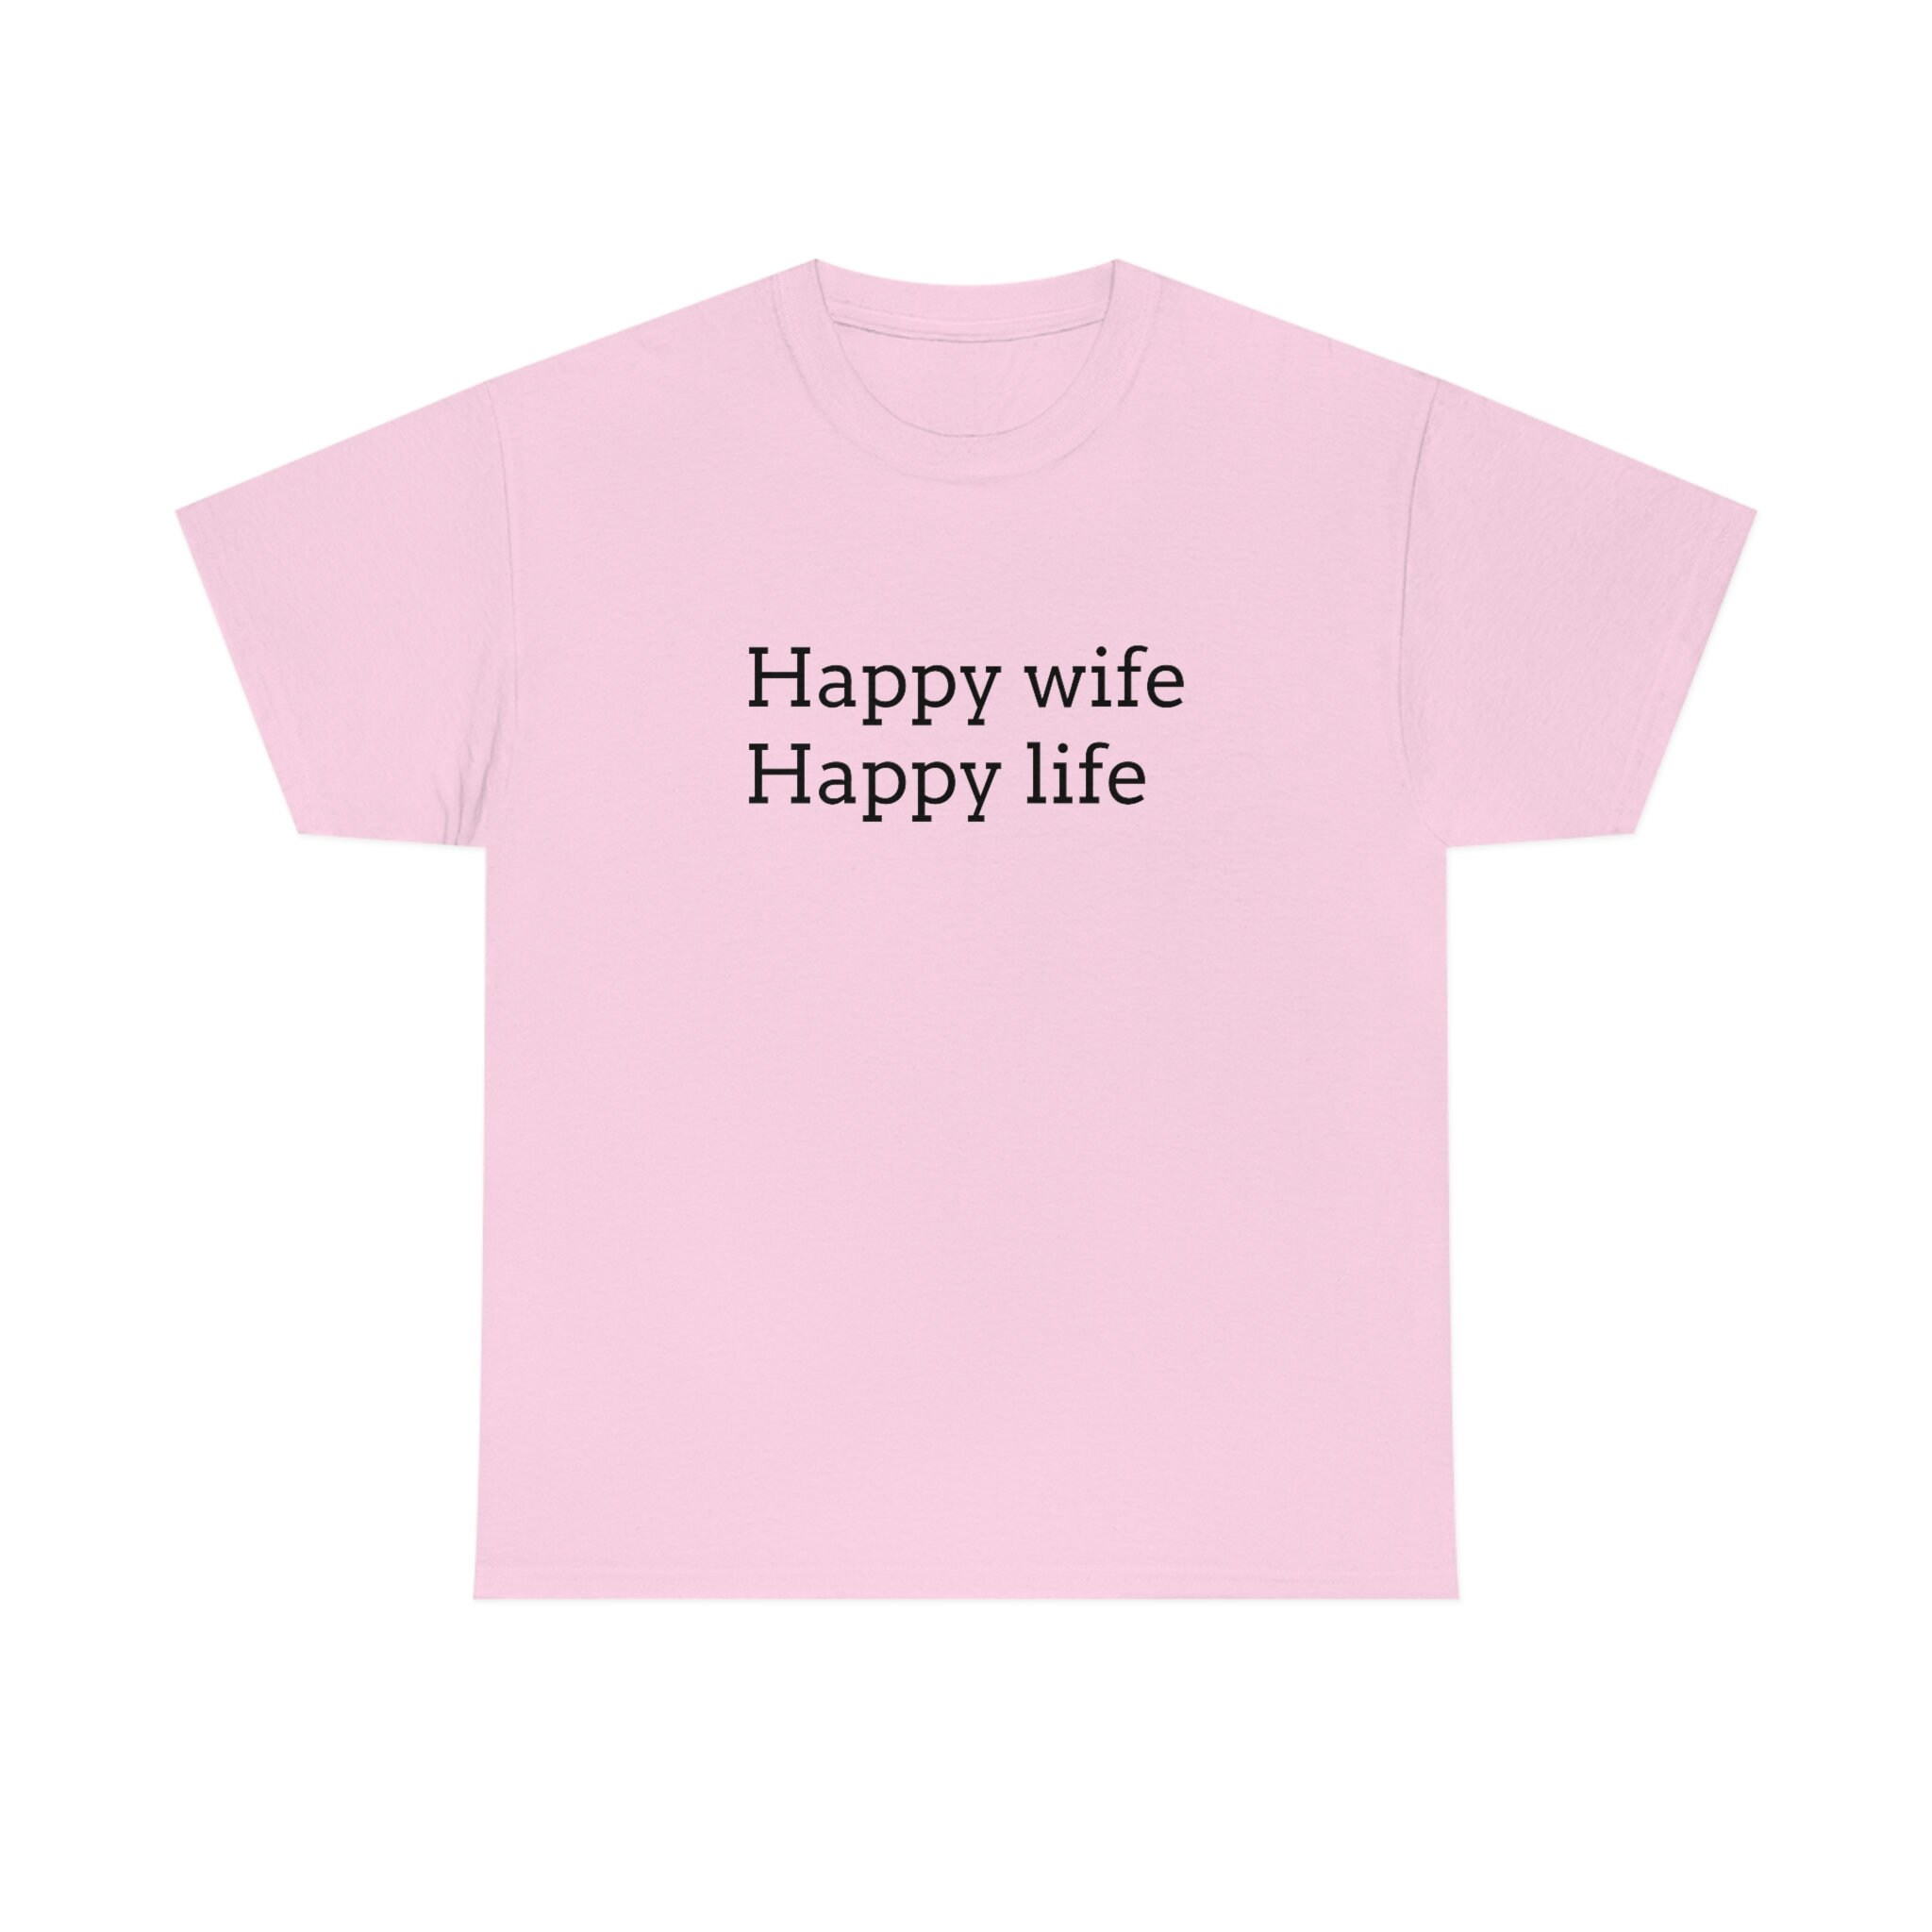
Okay, so the other day I saw this funny slogan, “Happy Wife, Happy Life,” and I thought, “You know what? I’m gonna make a shirt out of that!” I’ve been dabbling with some DIY projects, and this seemed like a fun, quick one.
Getting Started
First, I needed a shirt. I just grabbed an old, plain white t-shirt from my closet. Nothing fancy, just something I wouldn’t mind potentially messing up. Then came the fun part – figuring out how to get the words onto the shirt.
- Option 1: Fabric Markers – I considered fabric markers, but my handwriting is, let’s just say, “unique.” I didn’t want the shirt to look like a five-year-old made it.
- Option 2: Iron-on Transfers – I thought about iron-on transfers. You print the design on special paper and then iron it onto the shirt. Sounded promising!
- Option 3: Stencil and Fabric Paint – This seemed a little bit more involved, but I thought I had a good way.
I decided to go with the iron-on transfer route, I could use my computer to make sure that my words look good.
The Design Process
I hopped on my computer and opened up a basic design program. Nothing too complicated, just something where I could type in the words and pick a font. I went with a bold, simple font – easy to read, you know? Played around with the sizing a bit to make sure it would fit nicely on the shirt. Once I was happy with it, I printed it out onto the transfer paper. Remember, you gotta print it in reverse so it shows up the right way when you iron it on! That’s a crucial step I almost forgot.
Ironing Time
Now for the slightly nerve-wracking part. I laid the shirt out on my ironing board, making sure it was nice and flat. Then, carefully positioned the transfer paper, design-side down, onto the shirt. I double-checked, triple-checked that it was centered and straight. Then, with the iron on a medium-hot setting (no steam!), I slowly and firmly ironed over the back of the transfer paper. I made sure to press down evenly and get all the edges. It took a few minutes, and I kept checking the instructions on the transfer paper to make sure I wasn’t overdoing it.
The Big Reveal
After letting it cool down for a bit (patience is key!), I carefully peeled off the backing paper. And there it was! “Happy Wife, Happy Life” emblazoned on the shirt. It actually looked pretty good! A few tiny imperfections, but hey, that’s the charm of DIY, right?
Finishing Touches
I think the instructions said to wait 24 hours before washing, so I’m gonna be extra careful. Maybe I’ll even wear it around the house tomorrow to, uh, subtly hint at things to my wife. Who knows, it might just work!
Overall, it was a pretty easy and fun project. Took me maybe an hour, tops. And now I have a custom-made shirt that perfectly captures a, shall we say, important life philosophy. Might even make a few more for my buddies – they could probably use the reminder too!


