Okay, so I’ve always wanted a killer entertainment center, you know, the kind that makes your living room look like a legit home theater. But those things can be crazy expensive! So, I decided to take matters into my own hands and build one myself. I mean, I’m not a master carpenter or anything, but I figured, how hard could it be? Turns out, it’s a bit of a project, but totally doable, and I’m here to spill all the details.
Planning and Measuring
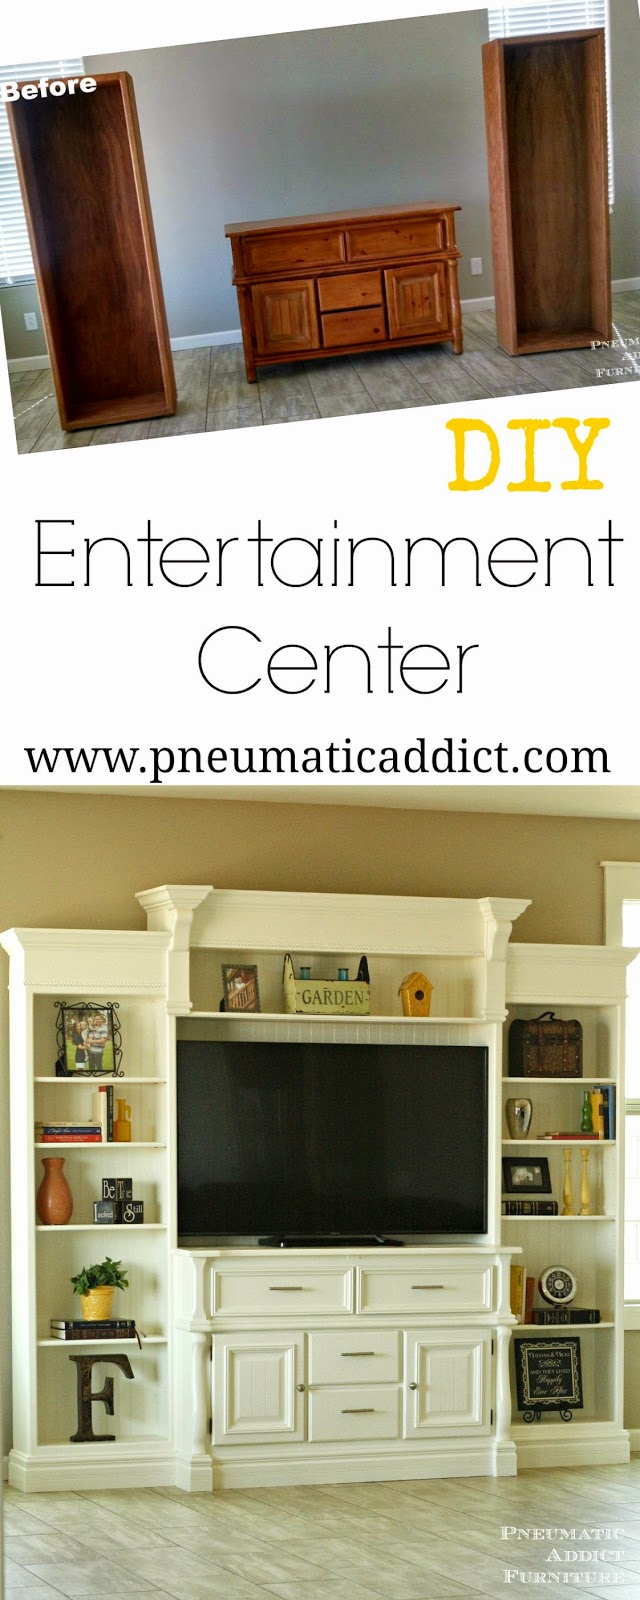
First things first, I had to figure out the plan. I spent a good chunk of time just staring at my living room wall, imagining where this bad boy was going to go. I measured the space about a million times – gotta make sure it fits, right? Then, I got down to sketching. Nothing fancy, just some rough drawings of what I wanted it to look like. I decided to go for a built-in look, because why not? It feels more…permanent, you know?
Gathering My Supplies
Next up, the shopping spree. I hit up the local hardware store and felt like a kid in a candy store, I grabbed a bunch of lumber. I went with some sturdy plywood for the main structure and some nicer-looking wood for the face frames. Oh, and don’t forget the essentials: screws, wood glue, wood filler, sandpaper – the whole nine yards. And, of course, I needed some new tools. I treated myself to a new circular saw and a drill. Safety first, people, so I also picked up some safety glasses and work gloves. You don’t want to lose a finger or your sight for this.
Cutting and Prepping
With all my supplies ready, it was time to get down to business. I started by cutting the plywood down to size, following my trusty measurements. This part was a little nerve-wracking, but I took it slow and steady. No one wants crooked shelves! After cutting, I sanded down all the edges to make sure everything was nice and smooth.
Assembling the Cabinets
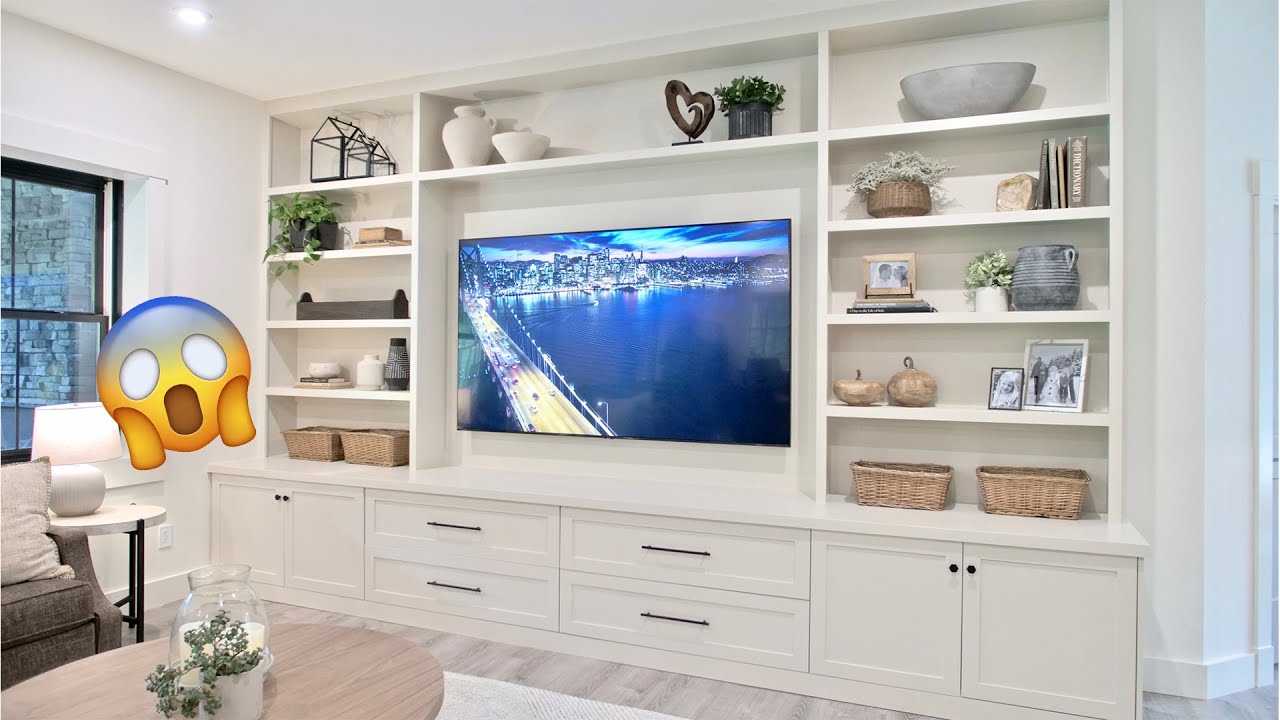
Then came the fun part – assembly! I started with the base cabinets. Using wood glue and screws, I pieced together the boxes, one by one. Seeing the cabinets take shape was super satisfying. I made sure everything was square and level as I went. Once the base cabinets were done, I moved on to the upper shelves and the bridge that connects them, creating that awesome built-in look.
Adding the Face Frames
With the main structure built, I attached the face frames to the front of the cabinets. This really gave it that polished, professional look. I used wood glue and some finish nails to secure them in place. After that, I filled in any gaps with wood filler and gave everything another round of sanding.
Finishing Touches
Now for the final touches. I chose a nice, classic paint for the finish. After applying the primer, I painted the entire entertainment center, letting each coat dry completely before applying the next. Patience is key here, folks.
Installing Hardware and TV
Once the paint was dry, I installed the cabinet doors and added some sleek handles. I also mounted my TV in the center. This was a two-person job, so I roped in a friend to help me lift it into place. Safety is paramount! And then the final part is to organize all my devices, like the sound system, game consoles, and that ever-growing collection of DVDs and Blu-rays.
And there you have it! My very own, custom-built entertainment center. It was a lot of work, I won’t lie, but seeing the finished product makes it all worth it. Plus, I saved a ton of money by doing it myself. If you’re thinking about tackling a project like this, I say go for it! Just be prepared to put in some time and effort. And always remember to measure twice (or ten times) and cut once!
- Remember, this is just my experience, and there are tons of ways to customize an entertainment center to fit your style and needs.
- Building an entertainment center can seem daunting, but with a little planning, patience, and elbow grease, it’s totally achievable.
Happy building, everyone!


