Okay, so I’ve been seeing these chunky knit sweaters all over my social media feeds lately, and I finally caved and decided to try making one myself. I went with the “pretty garden sweater” because, well, the name sounded cute, and the pictures looked amazing.
First things first, I had to gather my materials. I already had a bunch of yarn lying around from previous projects, but I needed to grab some bigger needles for that chunky look. I hit up my local craft store and found exactly what I needed, plus some buttons for the front.
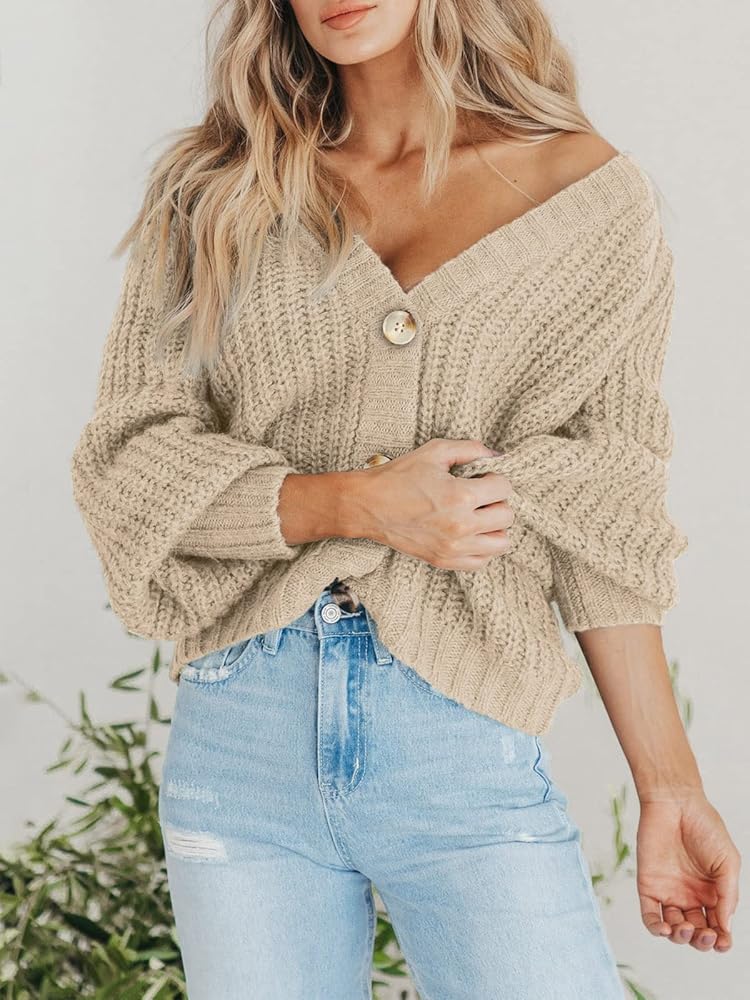
Next, I started looking at some examples of sweaters I liked. This sweater features puff sleeves and a split hemline, giving it a trendy and stylish look. The oversized fit adds a relaxed and comfortable feel. I also noticed it looked good with a tie-front bow design. That sounded good to me, so I incorporated those into my sweater plan.
Then, I watched a bunch of YouTube videos and read some blog posts to get the basic idea of how to knit a sweater. I’m not gonna lie, it was a little intimidating at first, especially since I’m more of a scarf and hat kind of person. But I figured, why not? It’s all about learning and trying new things, right?
I started with the back panel. It was a lot of just knit, knit, knit, but I put on some music and got into a rhythm. The thick yarn made it go pretty quickly, which was a relief. I wanted a loose-fitting design, so I made sure not to pull my stitches too tight.
After the back came the front panels. I decided to do an open-front style, so I could wear it with different tops underneath. Adding the tie-front bow was a bit tricky, but I managed to figure it out after a few tries. I think it adds a unique touch.
- Knit the back panel, keeping a loose tension for a relaxed fit.
- Knit the two front panels, leaving the front open.
- Figure out how to add the tie-front bow (this took some trial and error!).
- Knit the sleeves, making them puffy for a trendy look.
- Sew all the pieces together.
- Add buttons to the front.
The sleeves were next. I went for the puff sleeve look, which was surprisingly easy to do. It just involved increasing and decreasing stitches at the right places. Sewing everything together was probably the most challenging part. I had to make sure everything lined up properly, and there were a few moments where I had to rip out some stitches and redo them. But hey, that’s part of the process!
Finally, I added some buttons to the front, and voila! My pretty garden sweater was complete. It’s super cozy and warm, perfect for those chilly days. It’s definitely an ideal piece for wearing on cold days. I’m pretty proud of how it turned out, especially since it was my first time making a sweater. I think I fulfill the style of sweaters collection to satisfy your winter outfit. It’s not perfect, but it’s mine, and I learned a lot along the way. Now I’m thinking about making a matching one for my best friend! We can be sweater twinsies!


