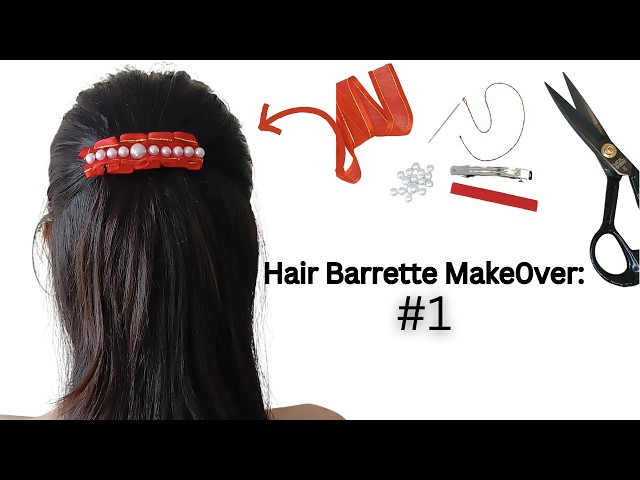
Okay, so, I’ve been wanting to make my own hair accessories for a while now, and I finally decided to give it a go. I saw this trend of making “bone barrettes” and thought, “Why not?” Let’s dive into how I made these, and maybe you’ll want to try it out too.
First things first, I needed to gather my materials. I didn’t really know where to start, so I just went to my local craft store and wandered around until I found something that looked like it would work. I ended up grabbing some polymer clay in a bone-ish color, some plain metal barrette clips, and some strong glue. I also picked up some sandpaper and a glossy sealant, just in case. I felt like I was shopping and going on an adventure.
I got home and laid everything out on my table. Then, I started working with the polymer clay. I’m no sculptor, that’s for sure! I just kneaded the clay until it was soft enough to work with. Then I tried to shape it into something that resembled a bone. It was way harder than I thought it would be! My first few attempts looked more like blobs than bones. I almost gave up, honestly.

But I kept at it, and after a few tries, I managed to make something that I was pretty happy with. I made a couple of different bone shapes, just to see what would look best. Once I had my clay bones ready, I followed the instructions on the clay package and baked them in the oven. I had to keep an eye on them to make sure they didn’t burn. It smelled a bit weird, but hey, that’s part of the process, right?
After the bones were baked and cooled, I used some fine-grit sandpaper to smooth out any rough edges. I wanted them to look somewhat realistic, or at least as realistic as clay bones can look. Then, I took my plain metal barrette clips and figured out how I wanted to position the bones on them. This took some trial and error, too. I didn’t want them to look too crowded or too sparse.
Once I was happy with the placement, I used the strong glue to attach the bones to the clips. I had to hold them in place for a few minutes to make sure the glue set properly. This was a bit tedious, but I wanted to make sure they were secure. After the glue was completely dry, I decided to add a layer of glossy sealant over the bones, just to give them a bit of shine and protection. I let that dry overnight.
The next day, I finally got to try them on! I have to say, I was pretty proud of myself. They actually looked decent! I wore them out, and a few people even asked me where I got them. It felt good to say I made them myself.
- Get some polymer clay, metal barrette clips, and strong glue.
- Shape the clay into bone shapes. It’s harder than it looks!
- Bake the clay bones according to the package instructions.
- Sand down any rough edges on the cooled bones.
- Glue the bones to the barrette clips and let the glue dry completely.
- Optionally, add a layer of glossy sealant for extra shine and protection.
So there you have it, my adventure in making bone barrettes. It was a fun little project, and now I have some unique hair accessories to show off. If you’re feeling crafty, give it a try! It’s a bit messy and takes some patience, but it’s totally worth it in the end.
Making bone barrette is not difficult!
Don’t be afraid to mess up. That’s how you learn. And remember, it’s all about having fun and expressing your creativity. Even if your first attempt doesn’t turn out perfect, keep trying. You might surprise yourself with what you can create!


